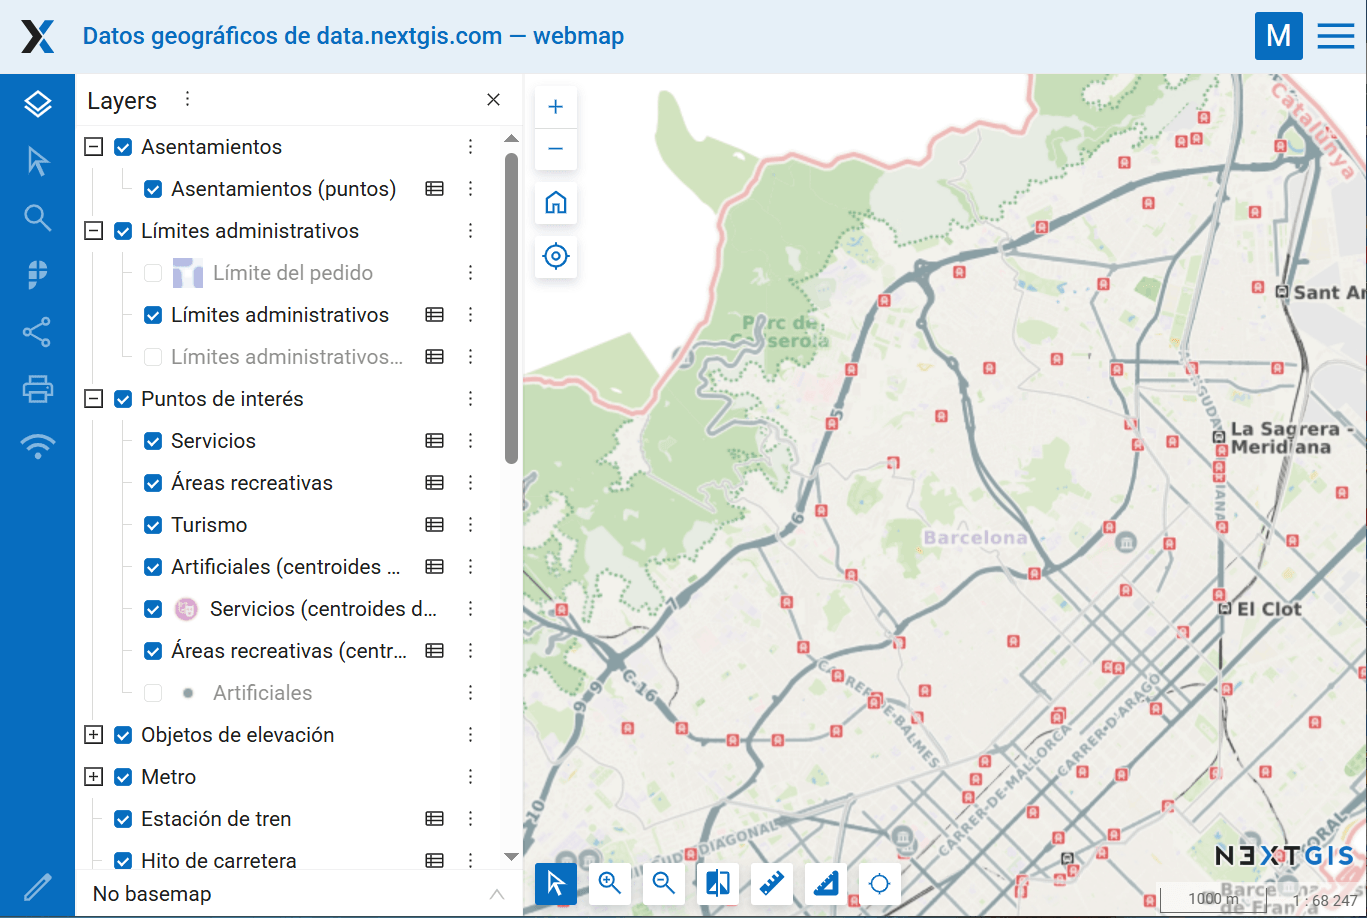
How to upload data to NextGIS Web with NextGIS Connect
Order data for your area of interest in Geopackage format (QGIS).
Go to the orders page and download the archive when it’s complete.
Unpack the archive.
Download and install QGIS.
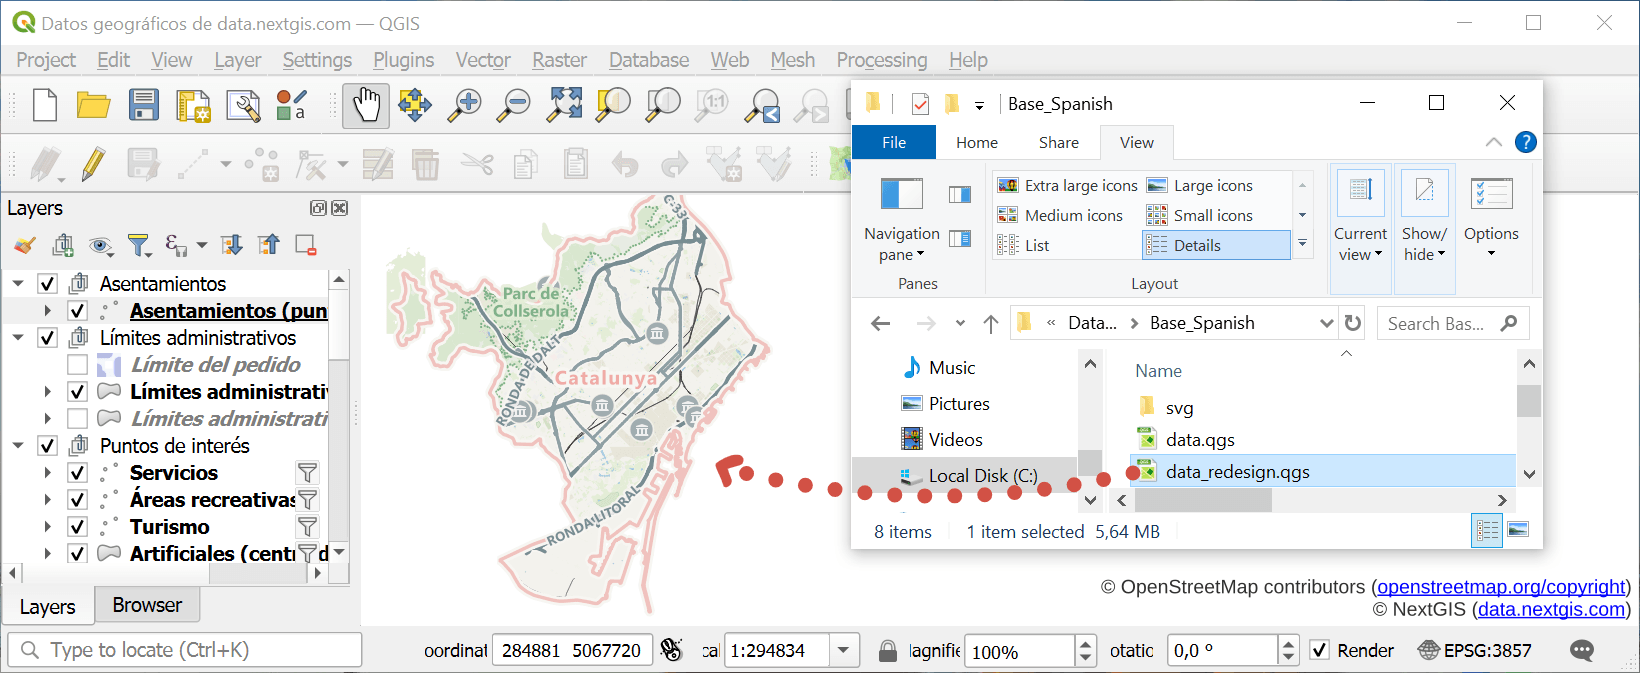
Launch QGIS.
Drag the project file “data_reseding.qgs” into QGIS window.
The project is loaded in QGIS.
Install NextGIS Connect plugin (top menu Plugins - Manage and install plugins - enter NextGIS Connect in the search bar - Install).
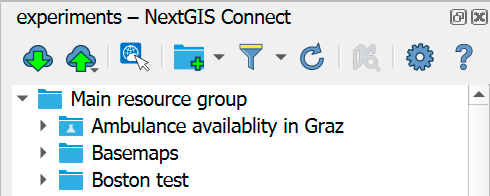
NextGIS Connect panel will appear. You can also call this panel via
 button from the toolbar.
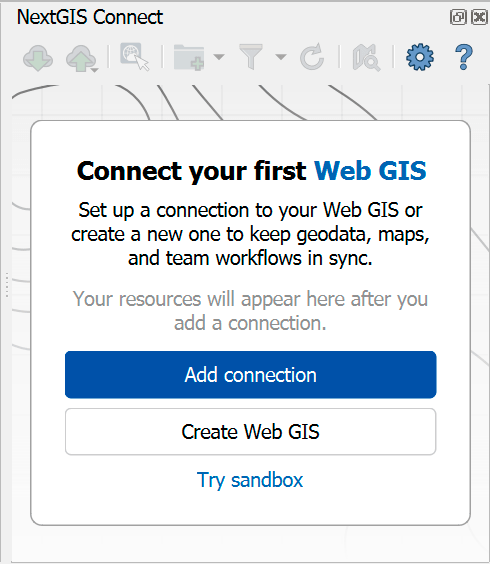
Add connection to your Web GIS.
Don’t have a Web GIS yet?
Click on the gear icon to open Settings.
In the Connections section create a new connection (enter URL of your Web GIS and, if needed, login and password of your NextGIS ID).
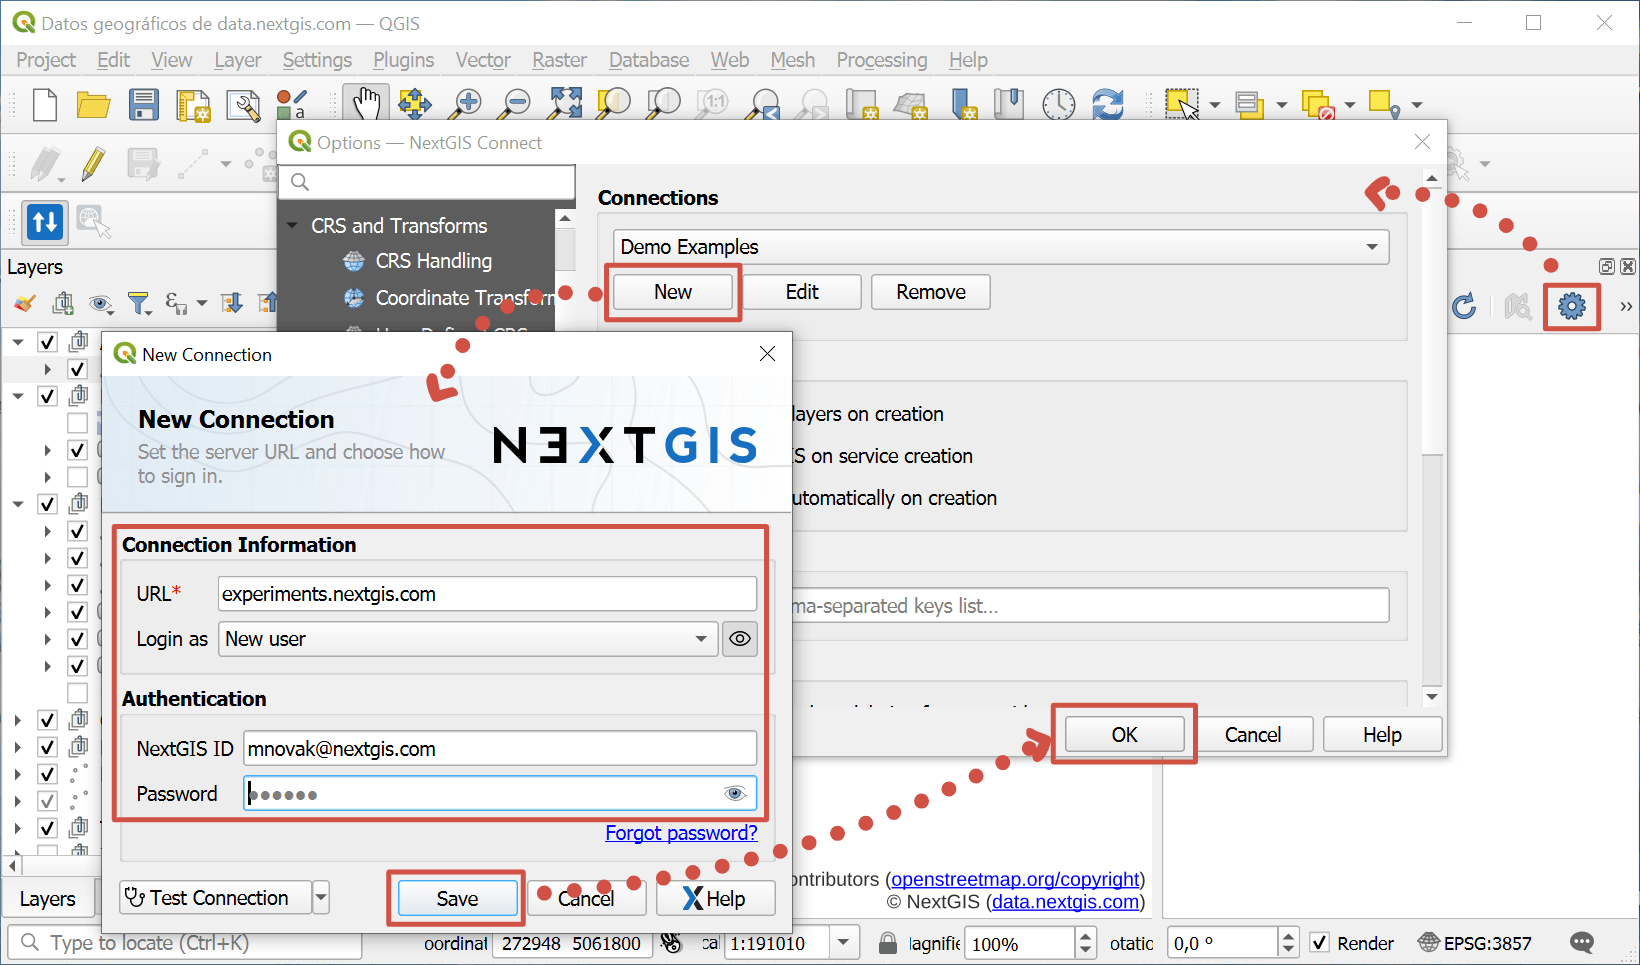
Click Save, then OK, and close the Settings menu. In the NextGIS Connect panel you’ll see appear the entire resource tree of your Web GIS.
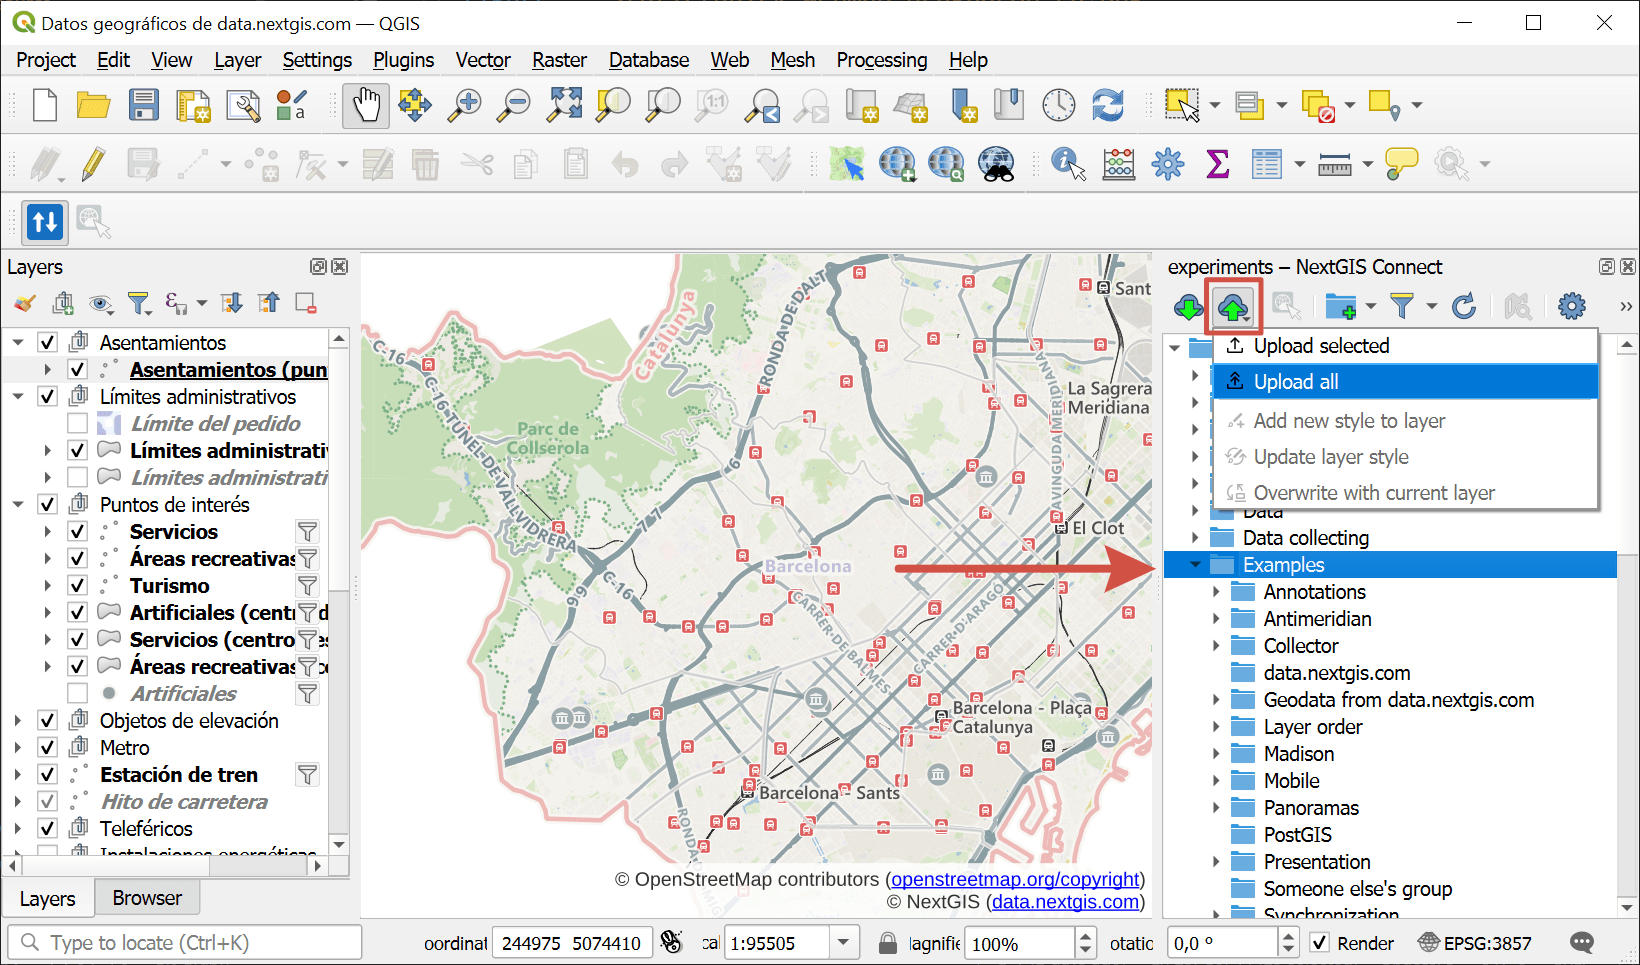
Select the resource group where you want to upload your project, click Add to Web GIS
 in the plugin toolbar and select Upload all.
After a while a newly created Web Map opens in the default browser.