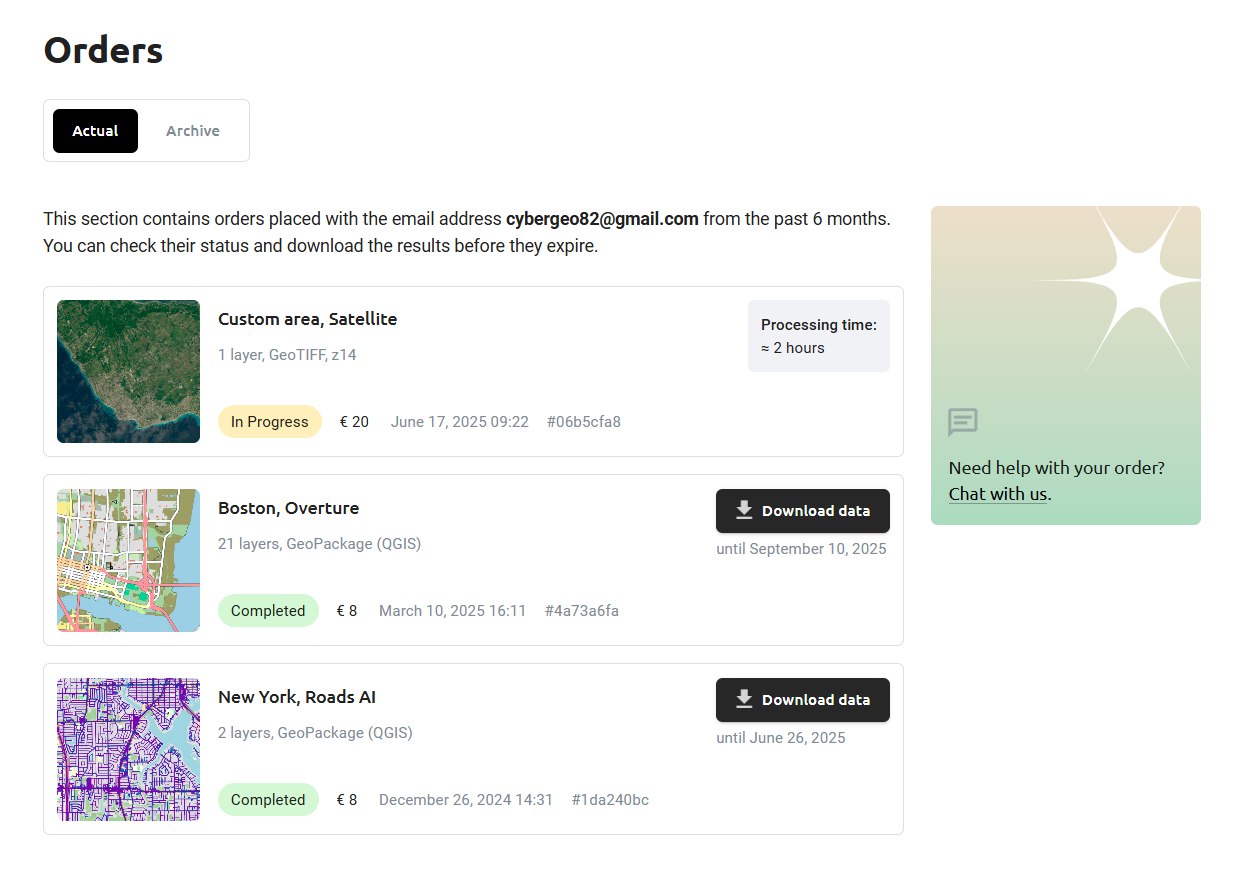
How to order data
Select area
You can select your area of interest in one of several ways:
Browse the catalog. Select a region to view its boundaries and prices.
Type the name of the region into the search bar on the main page or on the map of the custom area page.
You can also draw a custom polygon area on the map or upload a boundary from a file.
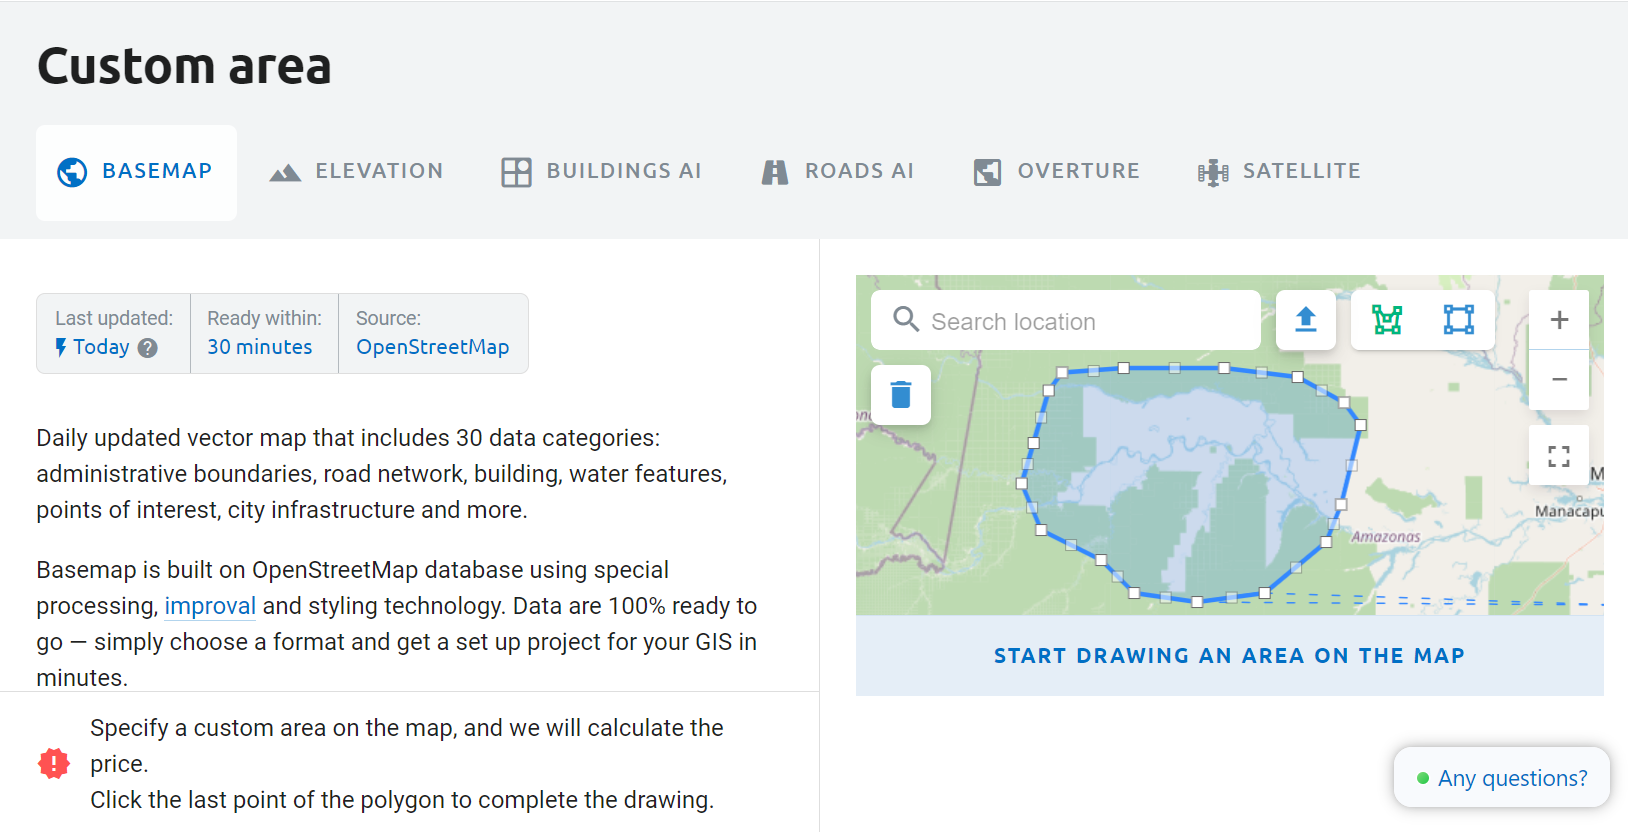
 - draw a rectangle to select area;
 - draw a custom polygon to select;
 - upload boundaries from file;
 - clear selection;
 - full-screen map mode.
Select data type
If you’ve chosen a region from the catalog, you’ll see the cards of all products available for this region. Select the product you need.
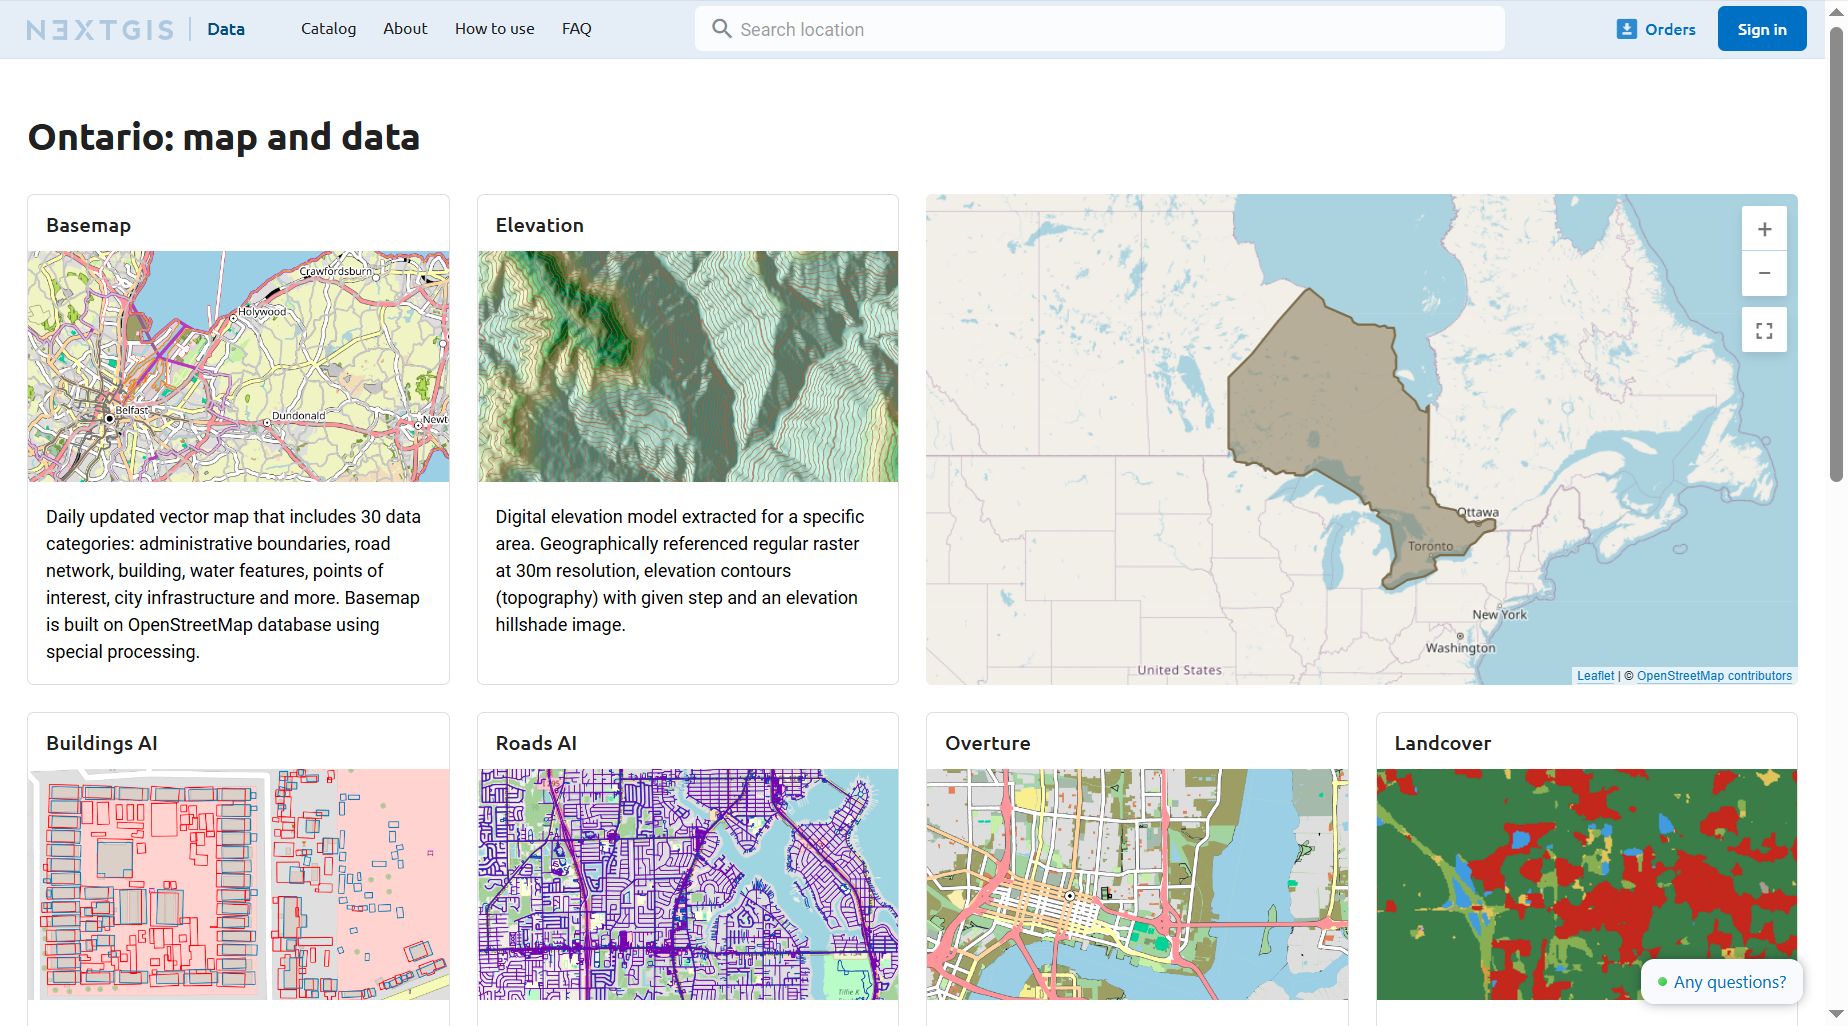
Pic. 1 Product cards on the region page
The product page opens. It’s the same type of page you get if you select a custom area.
To switch between products, use the dropdown menu.

Pic. 2 Selecting product
Data types you can order:
On each page you can download samples and check out data structure.
Select format
Select format from a dropdown menu.
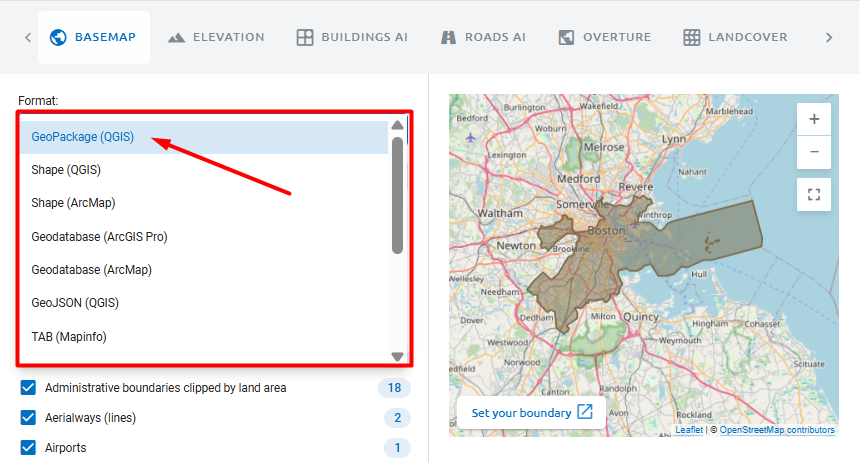
By default vector data is in GeoPackage (QGIS).
You can view the list of formats for each data type and download samples in all available formats.
Select layers
Data sets contain one or more layers. See the data structure to find what kind of information is stored in each layer.
Hover over the layer name to see a sample screenshot. Keep in mind that it is only an illustration, data for a particular area may have no features in that layer.
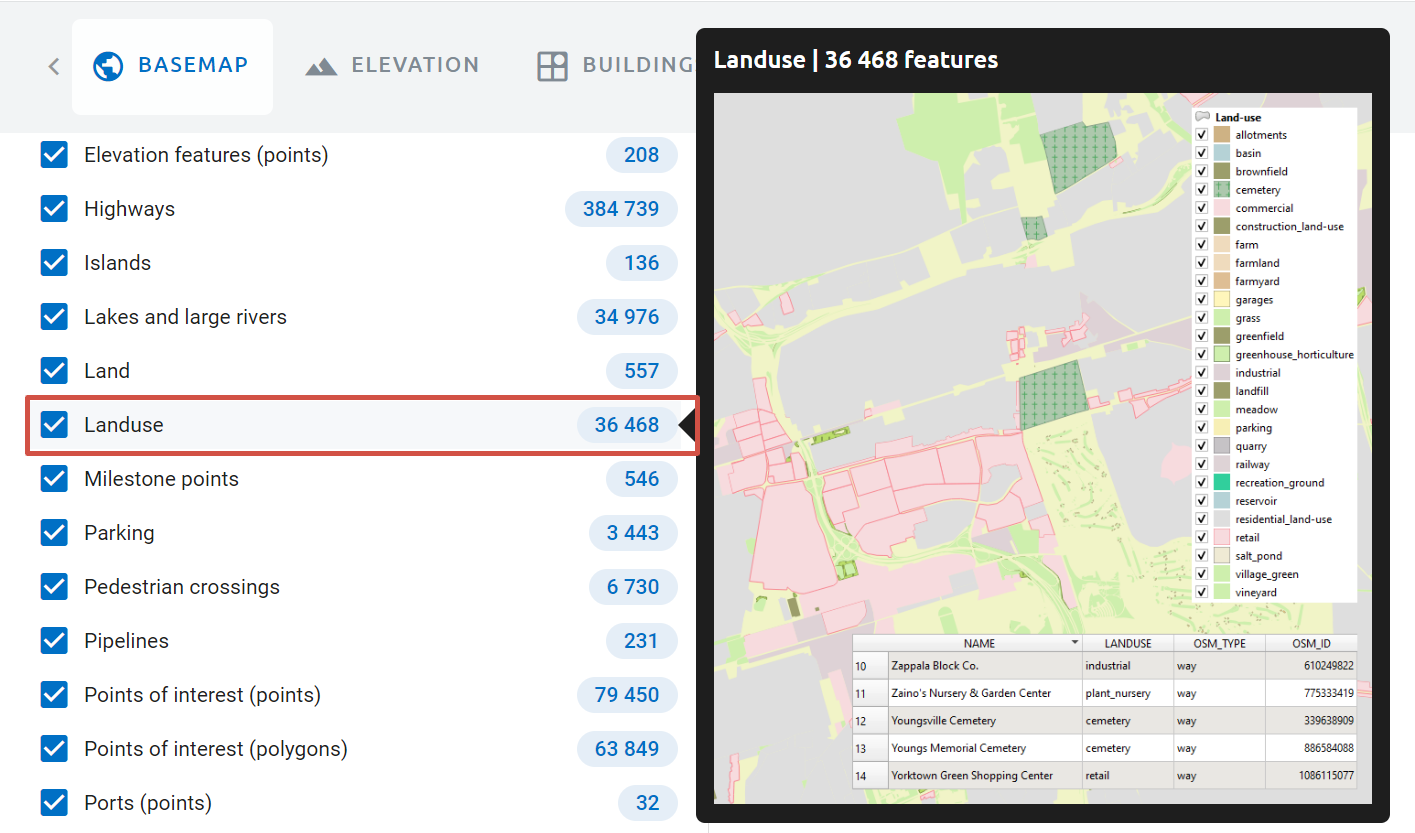
For OSM Basemap and Elevation you can choose which layers to order and deselect others.
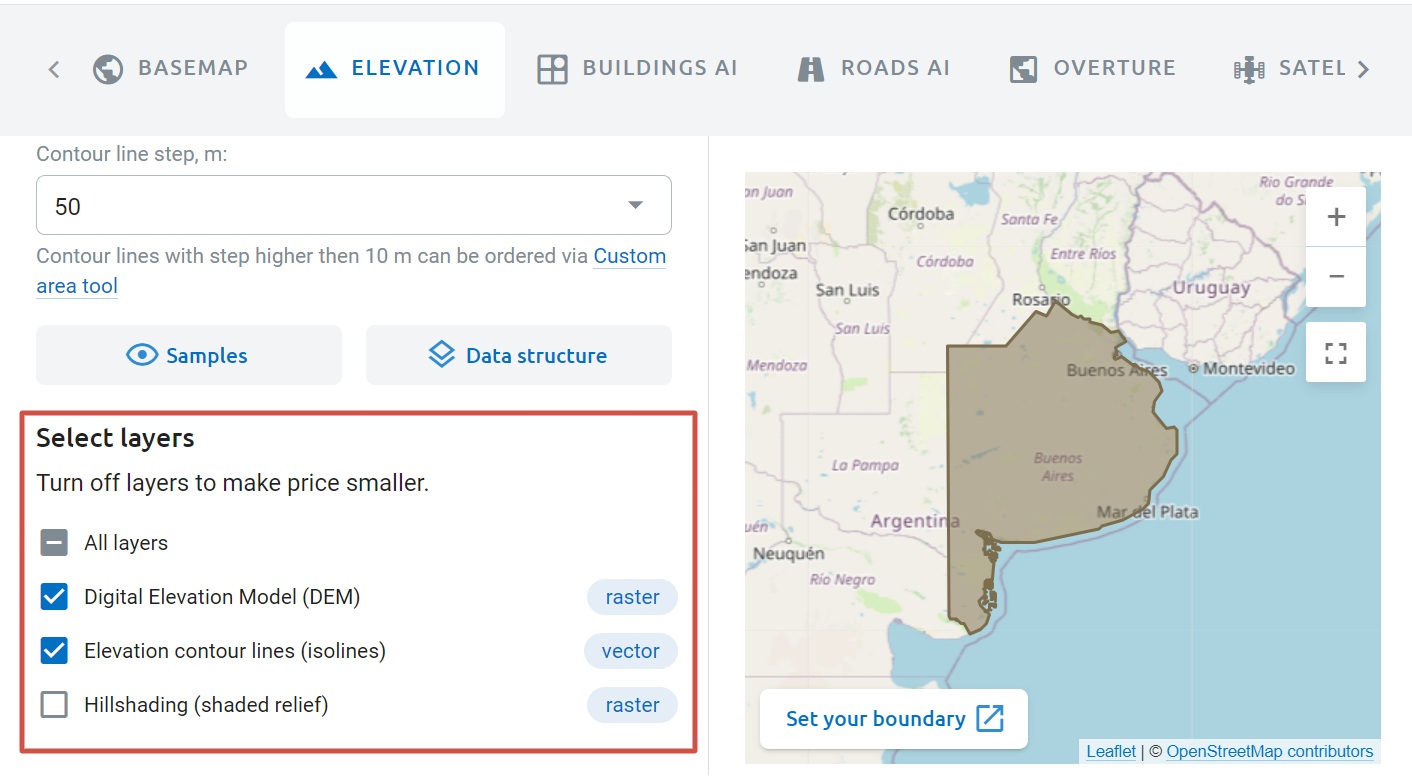
For Elevation you can also choose contour line step.
Purchase
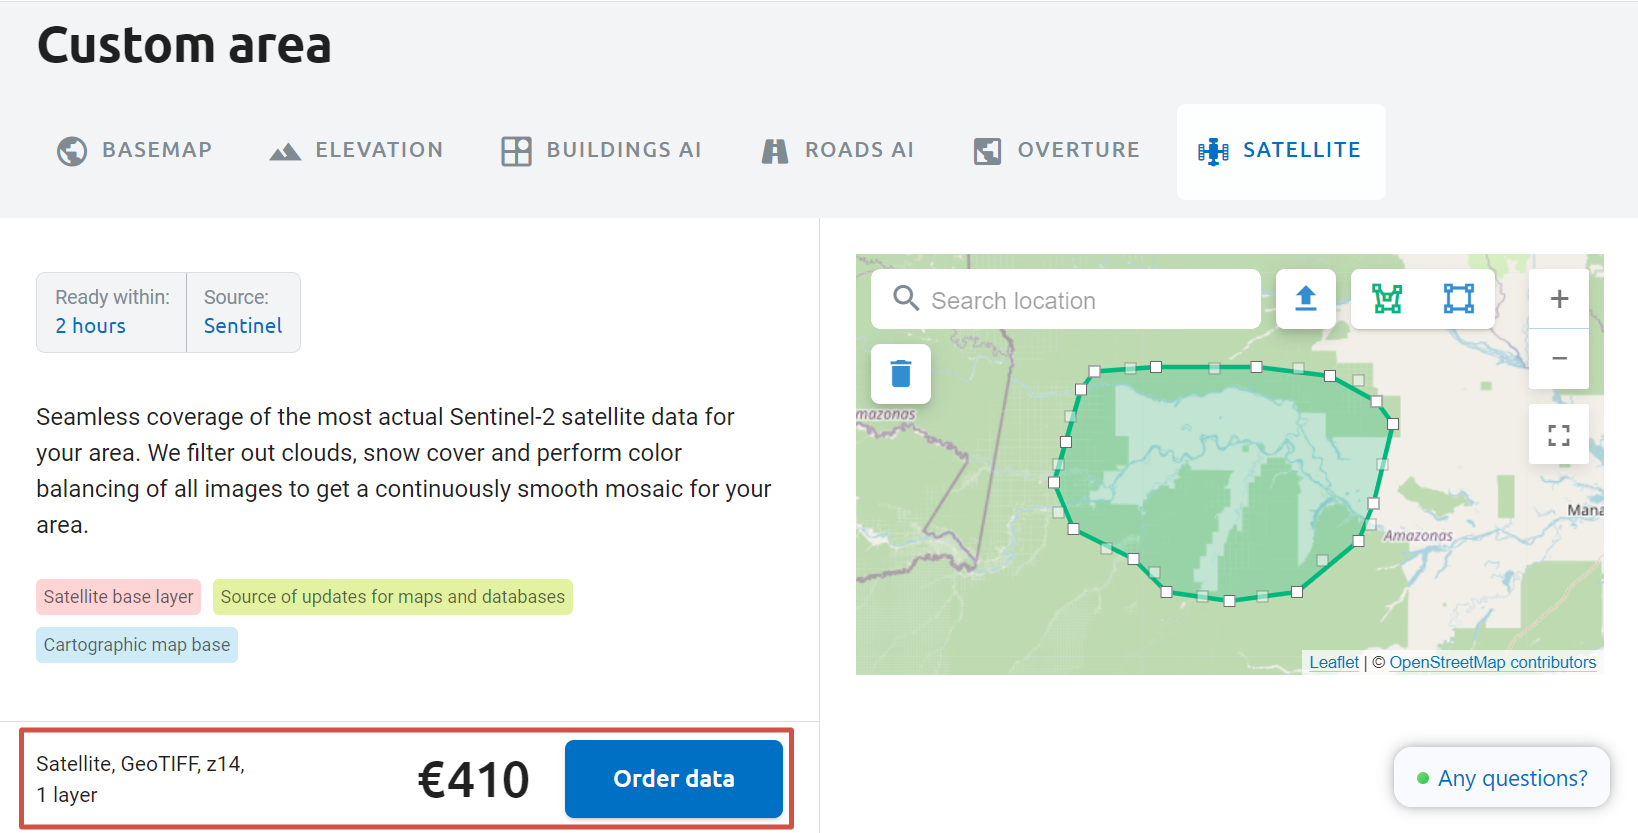
After selecting an area you’ll see the price and the order details at the bottom of the page. Click Order data.
The email field is mandatory. The result of your order will be available for download on the Orders page – to view it, you need to sign in / create account at my.nextgis.com with email you are using during purchase. If you already have an account on my.nextgis.com at the moment of purchase, we recommend signing in before placing an order.
Check the details of your order. Make sure the format is indicated correctly. Switching between tabs and other actions may cause the page to refresh and reset the default format.

Enter a discount code if you have one.
After making sure that all information is correct press Purchase data.
If you’re purchasing data on behalf of the organisation, we can issue an invoice addressed to this organisation.
Payment is made in euros, if your card has another currency, the conversion is handled by the bank.
Download data
Log in to data.nextgis.com. If you don’t have NextGIS ID yet, sign up using the email address you entered for your data order.
After signing in click Orders in the top right corner. It will open your order history. In this section you can find all the orders made for that particular email address. You can see if the order is ready and download the data. Also you can repeat older orders to get actualized data for the same area.